Ingredients
For the Salsa
- about 10 to 12 large peaches
- Juice from two limes or ½ cup 5% vinegar
- ½ cup honey
- 1 large and 1 small onion, chopped
- 2 jalapeno peppers, seeded and chopped (use more if you like hot and spicy)
- 4 cloves of garlic, chopped
- 4 tablespoons of cilantro, chopped
For the Canning
- lots of Water
- 1 large canning pot with lid
- rack for the bottom of the canning pot
- 1 pair of jar tongs and one pair of regular tong
- glass pint jars (make sure they are clean and free of cracks, etc anywhere, especially around the mouth of the jar. Do not use the jars with defects as they may not seal properly).
- Lids and rings to fit the jars you use. Ball makes a good brand.
- A small saucepan, one large saucepan, two medium bowls, one large bowl
- A non-metallic utensil to release trapped bubbles (I used a plastic knife)
Instructions
- Fill canner about half full with hot water and put on stove at med-high heat. Put lids with rings into small saucepan filled with water and bring to boil and then let simmer on stove.
- Add all ingredients to large bowl except for the peaches.
- Boil water in a large saucepan.
- Fill a medium bowl with some cold water. Once water in large saucepan has boiled, turn off heat and drop in a few peaches. Let them sit in there for 30 to 90 seconds or so, depending on how ripe they are, then transfer them to the bowl of cold water.
- Remove a peach from the bowl and peel off the skin. It should peel off easily just by using your hands. You may need to reheat your water after a while if the skins are not coming off easily. Next, slice the peach by cutting around the pit. Then slice small. Use the other medium bowl to discard the peel and the pit. Toss the sliced peaches into the large bowl. Mix all of the ingredients together thoroughly.
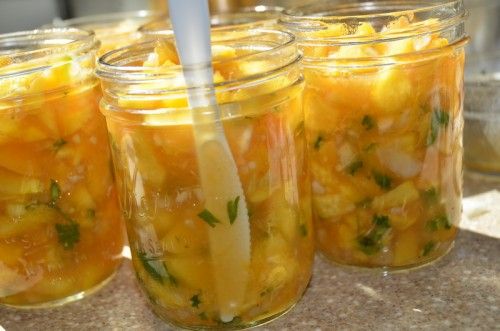
- Fill each jar with salsa to about ½″ from the top. Use your non-metallic utensil to poke down along the sides of the jar, releasing any bubbles. Using a clean rag, wipe the edges of the mouth of the jar on the sides and the top.
- Using the regular tongs, grab a lid and ring from the saucepan and place on the top of the jar and seal it down. Set aside until you have filled as many jars to go into the canner.
- Place all jars in canner (usually the canner comes with a metal rack at the bottom of the canner, make sure you have something like this as you don’t want the bottom of the jar sitting directly onto the bottom of the canner). Fill with warm water until water covers the jars by an inch.
- Put lid onto canner and boil for about 20 to 25 minutes. Don’t let it boil really hard, just more of a “rolling” boil. Keep your eye on it.
- Once done, remove each jar with jar lifter tongs and set on an old towel. Once jars are all on the towel, cover with another old towel to keep them warm. You will hear “pops” of the lids sealing as they cool. Once they are completely cool, check each lid to make sure they have sealed by pressing down on the top. If you are able to depress the top, it did not seal.
- Store in pantry or cool place for six months to a year.
** Note from Chella The processing time listed is for altitudes of 1,000 feet or less. For altitudes up to 3,000 feet, add 5 minutes; 6,000 feet, add 10 minutes; 8,000 feet, add 15 minutes; 10,000 feet, add 20 minutes.**